How To Set Up Your Own Shopping Cart In The Next 30 Minutes... Free
In this article I'm going to take you step by step through how to set up a shopping cart on your website effortlessly. It'll take somewhere around 30 minutes for most small businesses, depending on how many products you have.
The shopping cart we've chosen to illustrate is one of the most powerful, cost effective and easy to use available because it offers:
- Free trial setup so there's no cost to you in trying it out
- Inclusion of taxes, shipping charges and more if you want
- Browser based control panel means there's no software to download. This makes it fast and intuitive to use, and means you can work from any PC connected to the Internet
- The ability to work with a wide range of merchant accounts
- Lastly, this isn't a stand-alone shopping cart. A huge range of additional features are included for the minimal cost, such as powerful affiliate software, autoresponders and a form generator
I'm going to set up a sample shopping cart at it's most basic level for an imaginary ebook I've written.
Once you've signed up for your free account, log straight in to the password protected area and click on "Set Up Shopping Cart" to begin the process.
The first impressive step in the ladder is that the control panel's wizard has already extracted the relevant details you gave when you signed up and inserted them into the first form.
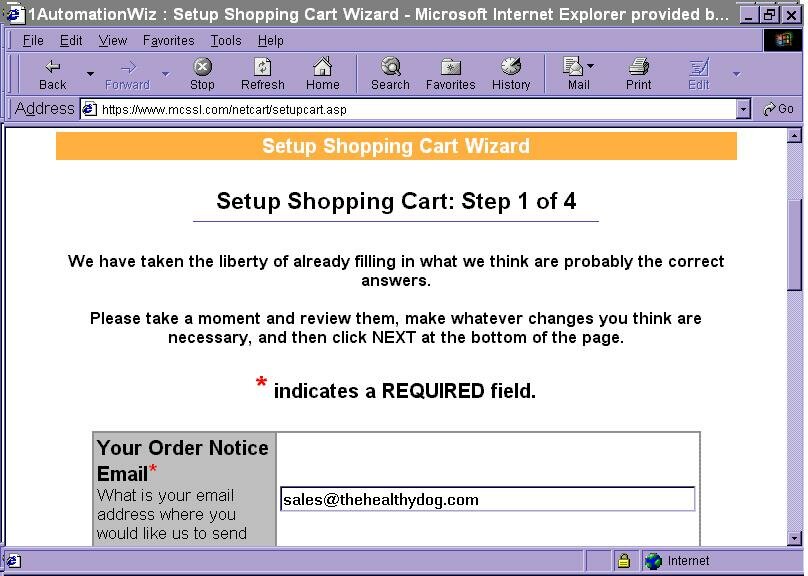
All you need to do is check them to ensure they're correct! This first stage asks only for 6 pieces of information, 1 of which is optional.
The fields include the address of your "thank you for your order" page, what currency you'd like to accept payments in (must be compatible with whatever merchant account you've elected to use) and what email address you'd like all the sales confirmation messages sent to.
Once you've done this (a 30 second job!) we just need to click on "next" and we've completed step 1.
Step 2 involves deciding the actual design of the shopping cart - the specifics.
For example, would you like to show shipping costs? I selected "no" in this case as I'll be sending my ebook over the 'net.
You then have the option of adding whatever text you'd like (if any) to your shopping cart and order form.
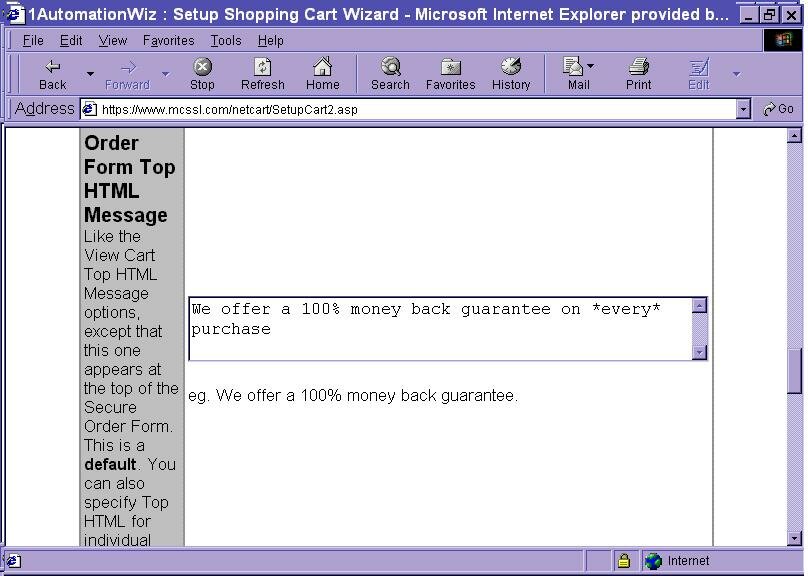
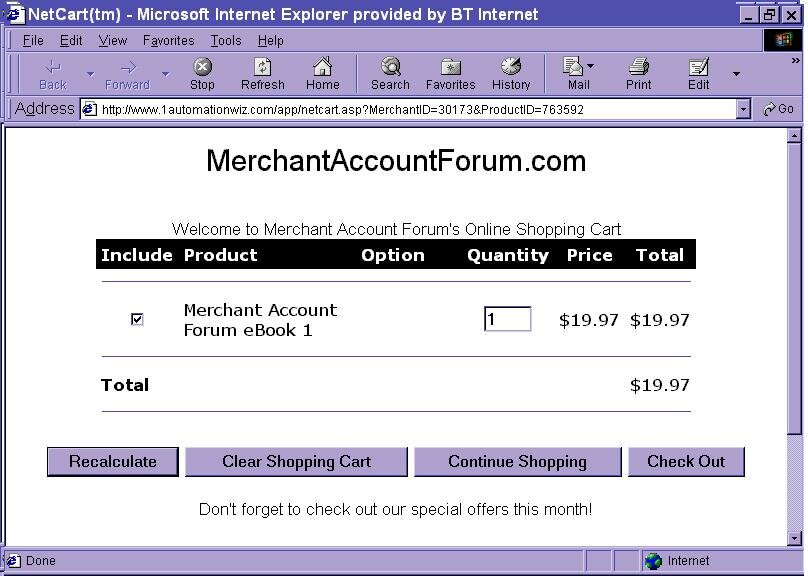
So I added the simple message "Welcome to Merchant Account Forum's Online Shopping Cart" for instance. All of the text is at your control - say as little or as much as you'd like. Maybe you could draw attention to a special offer that month, or a new product in your catalogue?
Once you've spent the whole 5 minutes it'll take you till you're happy with the text, you're onto... you guessed it, step 3 already (I told you it was quick and easy, didn't I?).
The final step in setting up the shopping cart before we add our products is to specify the payment details. You'll need to select which merchant account from a long list you use, and what cards you would like to accept (Visa, Mastercard, Amex etc.).
Finalise these last few details, all of which are provided when you are granted a merchant account, and your shopping cart is fully set up!
All that's left to do is to add your products to the cart you've just set up.
To do this select "Add A New Product" this time from the list of options on the control panel.
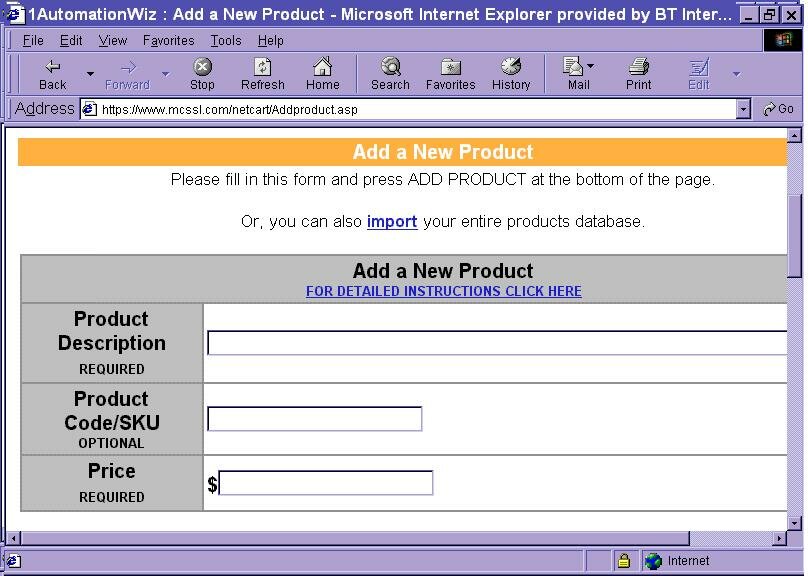
There's only one page to edit for each product, and if you've got loads, you can even upload the details in bulk to save time.
Anyway, for our one product, you're asked for a product name and price, together with optional information such as shipping costs (if applicable) and the taxes involved.
Lastly you decide on whether or not you'd like to offer this product through the built-in affiliate software (fancy your own affiliate scheme as part of the deal?) and if so select the commission level you're willing to give to your affiliates.
And that, my friend, is it.
The software provides you with idiot-proof instructions on how to link your website seamlessly with your new shopping cart and you're up and running.
Infact, here's a screenshot of the shopping cart I built in minutes.
To find out more, or sign up today for your free account, click here.
Privacy Policy | Site Map
| UK Merchant Accounts | International Merchant Accounts |
| US Merchant Accounts | NY Merchant Accounts |
| Online Merchant Accounts | Internet Merchant Accounts |
© 2001 - 2005
MerchantAccountForum.com
All rights reserved.
|
Merchant Account Freebies
For Business Owners... Free Ebook - Answers To 44 Real-Life Merchant Account Questions Free Merchant Account "Buy Now" Buttons To Spice Up Your Site Free Articles You Can Reprint At Your Site And Profit From Get A Free Link From Our High-Traffic Site Join Our Free Monthly Business-Building Newsletter For Payment Processing Companies... |